Aloe vera isn’t just a trendy plant—it’s a healing wonder and one of the most beginner-friendly houseplants you can grow. From calming sunburns to sprucing up your space, aloe vera is a versatile, low-maintenance green buddy. And yes, it grows beautifully in containers—even tiny ones.
Whether you’re a city dweller in a high-rise apartment or just short on space, this detailed guide will help you master aloe vera care in small pots. We’ll walk through pot size, lighting, watering, soil, repotting, and common issues—all explained clearly for beginners.
Plus, you’ll learn how to style your plant, use its gel safely, and even propagate it to share with friends.
Let’s dig into how you can help this desert plant thrive indoors, no matter how small your space.
Light Requirements for Aloe Vera in Small Pots
Lighting is one of the most critical factors in aloe vera care, especially when grown indoors in limited space. Aloe vera is a sun-loving plant that thrives in bright, indirect sunlight.
In small pots—where soil volume is reduced and moisture balance is more delicate—light becomes even more important.
Best Placement Indoors
Place your aloe near a south-facing window for the most consistent light. East or west-facing windows can also work, but avoid north-facing ones unless you supplement with grow lights.
If sunlight is harsh (especially in summer), a sheer curtain can help filter it. If light is low, consider a full-spectrum LED grow light placed 6–12 inches above your plant.
Signs of Light Stress
- Stretching or leaning = not enough light (etiolation)
- Browning or scorched leaf tips = too much intense light
- Rotate the pot weekly so all sides receive balanced exposure.
Watering Aloe Vera in Small Containers
This is where most people trip up. Aloe vera stores water in its thick leaves, so overwatering is a real threat—especially in small pots.
How Often Should You Water?
- Spring/Summer: Every 2–3 weeks (or when soil is completely dry)
- Fall/Winter: Once every 4–5 weeks
Always check the top 2 inches of soil. If it’s bone dry, it’s time. When in doubt—wait!
How Much Water?
Water thoroughly until it drains out the bottom. Always empty the saucer afterward. Never let your aloe sit in soggy soil.
Avoid watering into the center rosette. Water around the base to prevent crown rot.
Warning Signs
- Mushy leaves? You’ve overwatered.
- Wrinkly, thin leaves? Time to water.
Soil and Potting Tips for Aloe in Small Spaces
Soil and container choice can make or break aloe vera’s health—especially when you’re working with small pots.
The Right Soil Mix
Aloe vera needs well-draining soil to mimic its natural desert habitat. It hates wet feet and thrives in a light, sandy mix.
- Use cactus or succulent soil mix.
- Or make your own:
- 2 parts regular potting soil
- 1 part coarse sand or horticultural grit
- 1 part perlite or pumice
This combo keeps the roots oxygenated and prevents waterlogging.
Best Pots for Aloe
- Material: Terracotta is ideal because it breathes and dries faster.
- Size: Choose a snug pot, about 4–6 inches wide for a young aloe.
- Must-have: Drainage holes. Non-negotiable.
Avoid decorative pots with no holes unless you use them as a cachepot (outer pot only).
Repotting Aloe in Small Pots
Every 2–3 years, repot your aloe if:
- Roots are circling the pot
- Water drains too quickly or not at all
- Soil becomes compacted or moldy
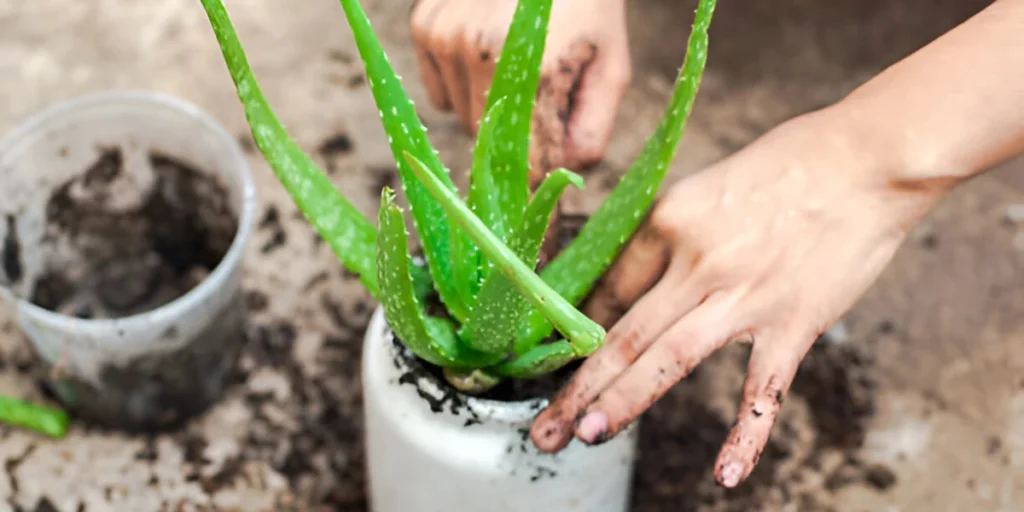
To repot:
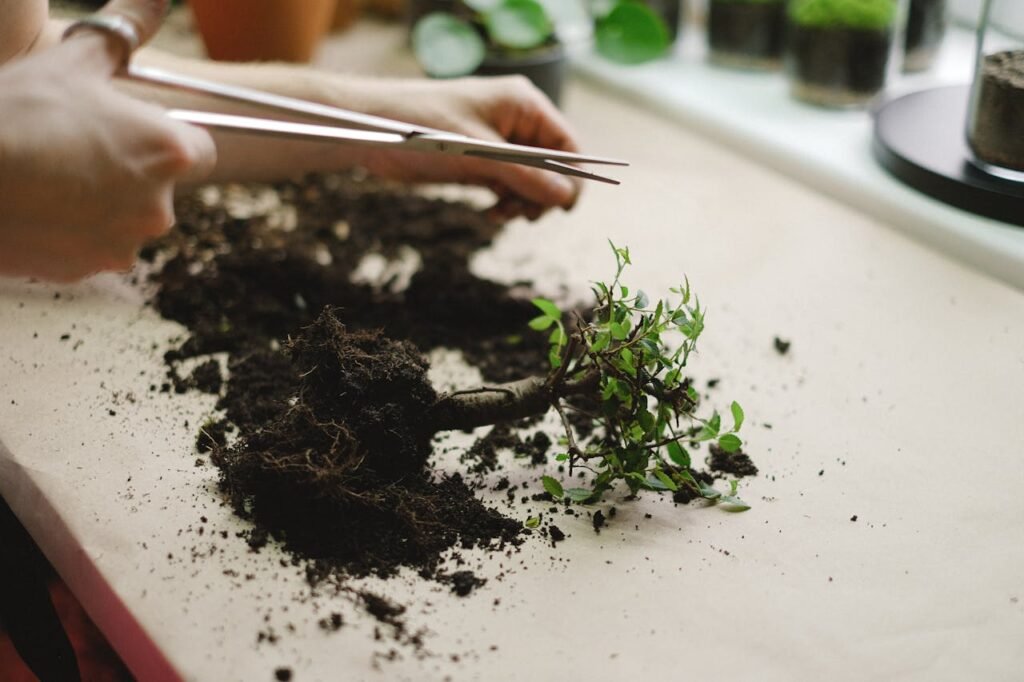
- Gently remove the plant and inspect the roots.
- Trim any rotted or tangled roots.
- Place in fresh, dry succulent soil.
- Wait 3–5 days before watering to allow roots to callous.
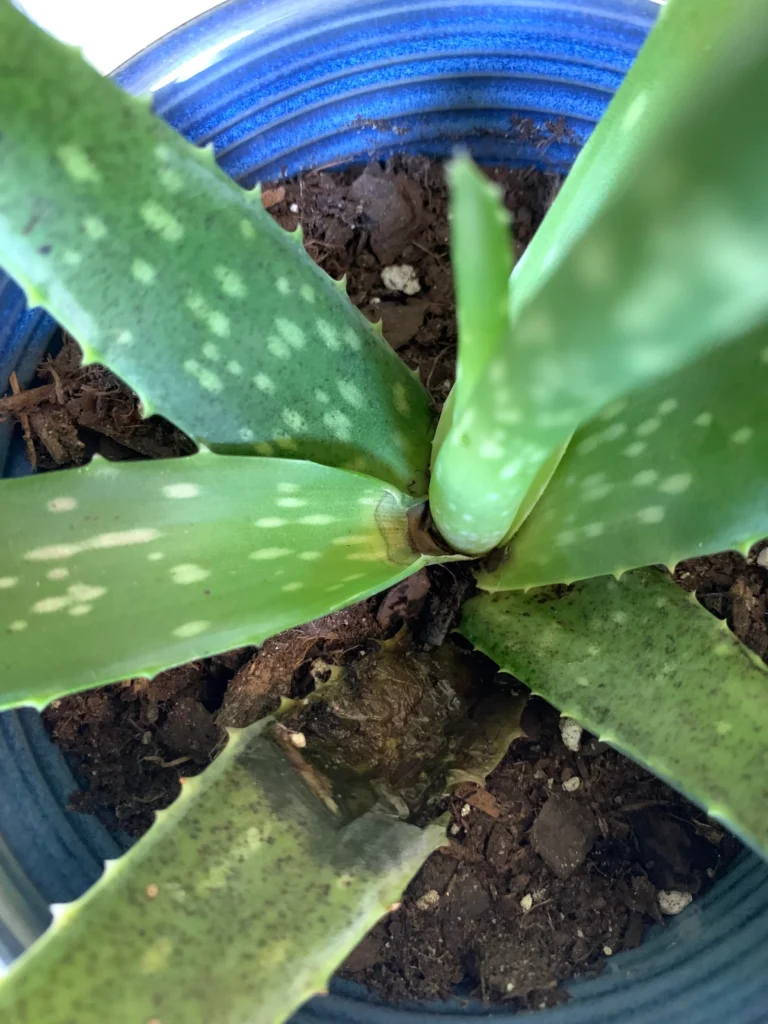
Propagation: Growing New Aloe Plants from Pups
If your aloe vera is happy and healthy, it will eventually grow little offshoots—called pups—around the base. These baby aloes can be separated and repotted to grow into full-sized plants.
Perfect if you want to expand your collection, give gifts, or make the most of limited space.
When to Propagate
- Wait until pups are at least 3–4 inches tall
- They should have a few leaves and a visible base
- Ideally, some roots will already be attached
How to Separate and Replant Aloe Pups
- Gently remove the parent plant from its pot.
- Loosen the soil and carefully separate pups from the main root ball.
- If necessary, cut the pup free using a clean, sharp knife.
- Let the pup sit out for 1–2 days to allow the cut area to callous.
- Plant in a small pot with fresh, dry succulent soil.
- Water lightly after about a week—just enough to encourage root growth.
Propagation Tip
Smaller containers work great for pups, but still make sure they have drainage holes. These little guys will take time to grow, so be patient and keep them in bright, indirect light.
Seasonal Aloe Vera Care for Indoor Gardeners
Aloe vera naturally grows in warm, dry climates, but it adjusts well to indoor life as long as you tweak its care based on the season.
Spring & Summer (Active Growth)
This is when your aloe wakes up and starts growing:
- Water every 2–3 weeks, only when the soil is dry
- Give it 6–8 hours of bright, indirect sunlight daily
- Fertilize once a month with a diluted succulent fertilizer
- Ideal time for repotting or propagation
- Rotate the plant for even growth
Tip: If you move your aloe outdoors during summer, transition it slowly to avoid sun shock.
Fall & Winter (Dormant Phase)
During cooler months, aloe enters a rest period:
- Water once every 4–5 weeks
- Stop fertilizing completely
- Keep it in the brightest window available
- Avoid drafts, heaters, and sudden temp changes
- Don’t repot or trim unless absolutely necessary
Remember: Less is more in winter. Let your plant rest, and it’ll reward you in spring.
Fertilizing Aloe Vera in Small Pots
Just like light and water, fertilizer plays a supporting role in helping aloe thrive—especially in small pots where nutrients get used up faster.
When to Fertilize
Aloe vera doesn’t need frequent feeding. During its growing season (spring and summer), you can apply a diluted liquid succulent fertilizer once a month. Avoid fertilizing in fall and winter when the plant is resting.
What Kind of Fertilizer Works Best?
Use a balanced, water-soluble succulent or cactus fertilizer—something like a 10-40-10 formula or one designed for low-nitrogen feeding. You can also use organic alternatives like compost tea or worm castings, but sparingly.
Pro Tips
- Always fertilize after watering, not on dry soil—this prevents root burn.
- Less is more: Overfeeding causes soft, leggy growth and can weaken the plant.
- Skip fertilizing newly repotted aloe for at least 4–6 weeks.
Common Aloe Vera Problems and How to Fix Them
Even if you’re doing your best, aloe vera might throw you a few curveballs. Don’t worry—most issues are easy to fix when caught early.
1. Yellowing Leaves
What it means: Often caused by overwatering or poor drainage.
Fix it: Let the soil dry completely. Check the roots for rot and trim any black or mushy ones. Repot in dry, fast-draining soil with a drainage hole.
2. Soft or Mushy Leaves
What it means: Waterlogged soil, root rot, or crown rot.
Fix it: Gently remove the plant, trim off damaged roots or leaves, and allow to dry. Repot into dry cactus mix and water only after a few days.
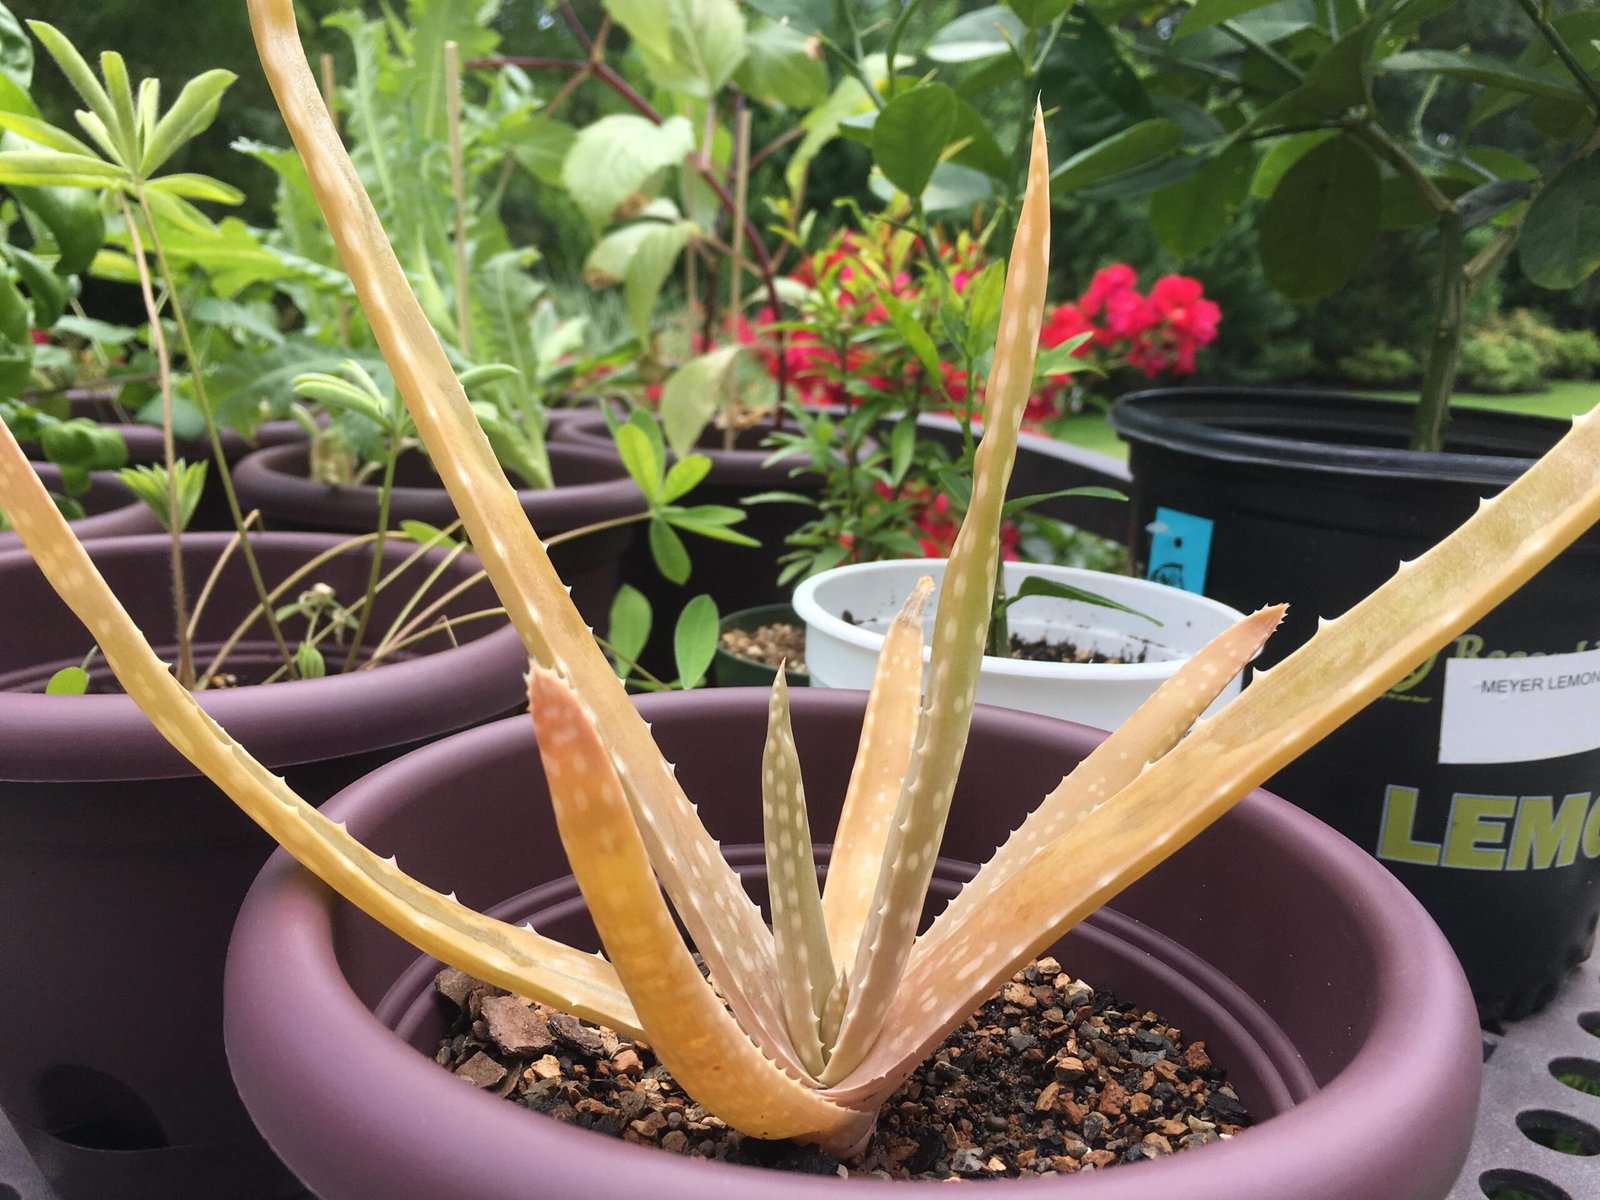
3. Brown Leaf Tips
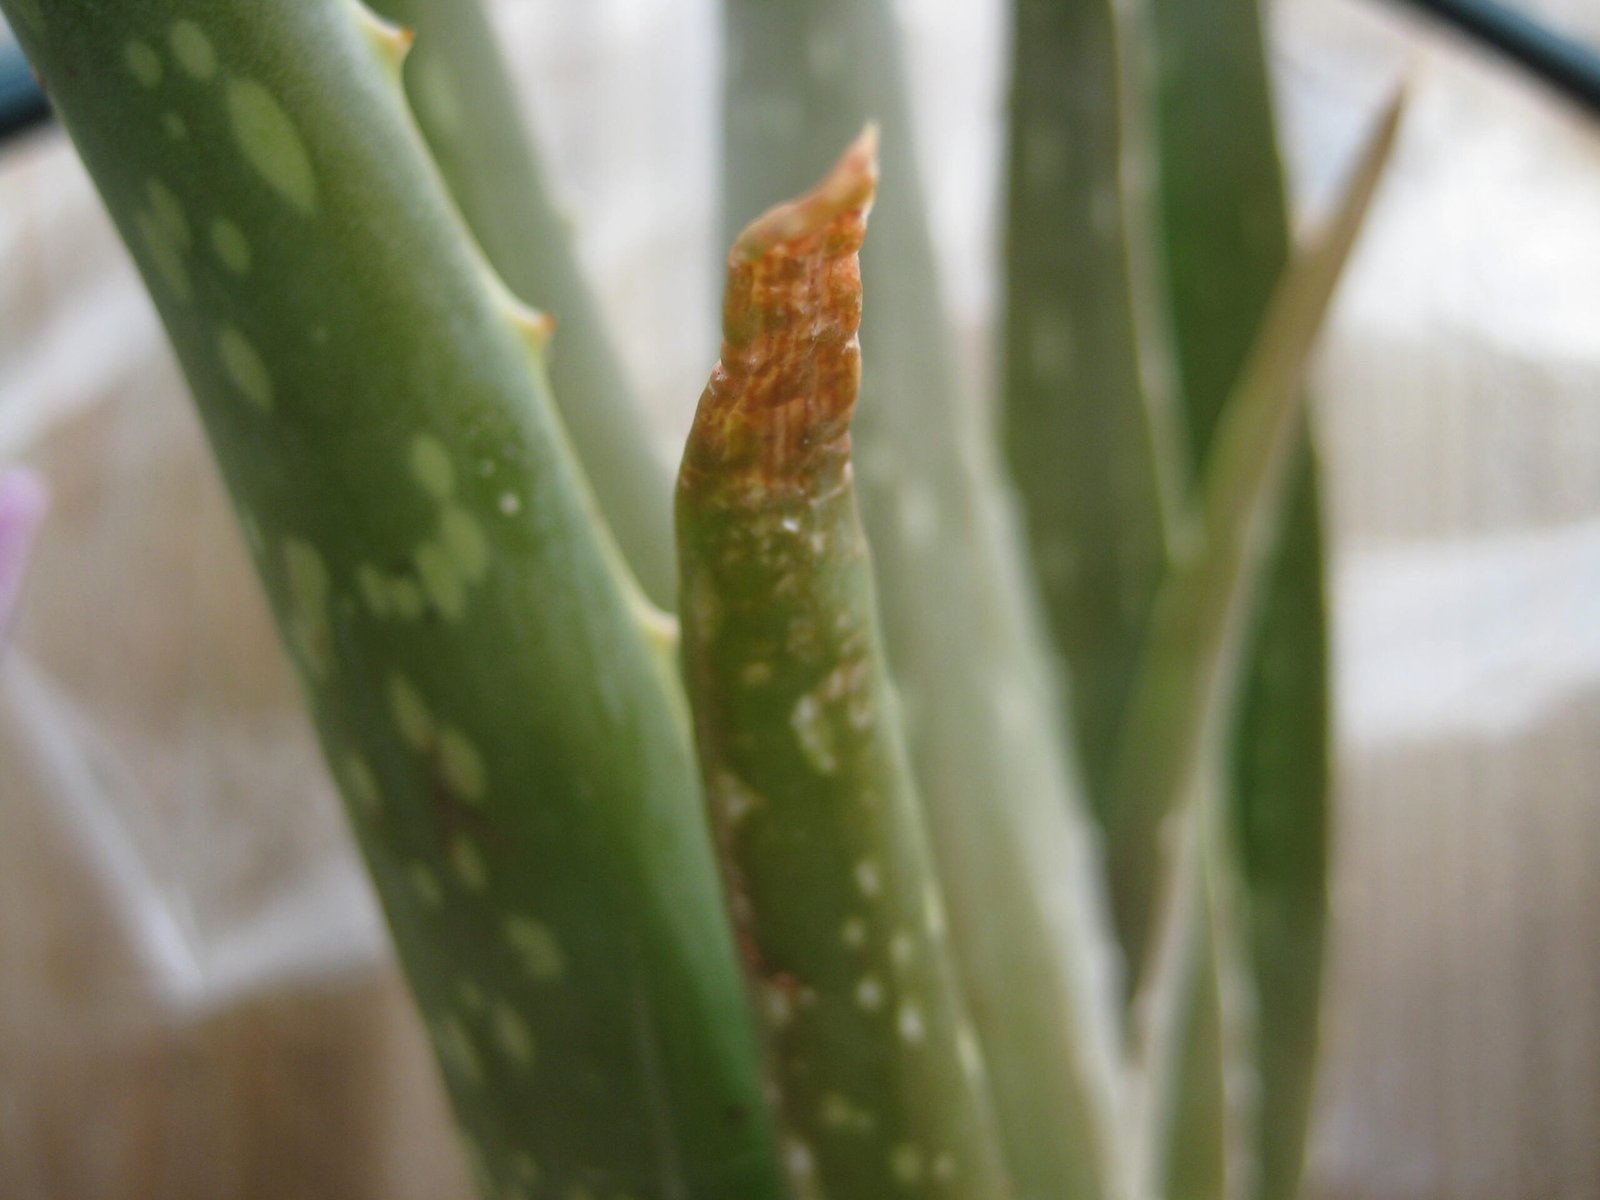
What it means: Too much sun, fertilizer burn, or low humidity.
Fix it: Move to filtered light. Skip fertilizer for a month and monitor airflow.
4. Drooping or Wrinkled Leaves
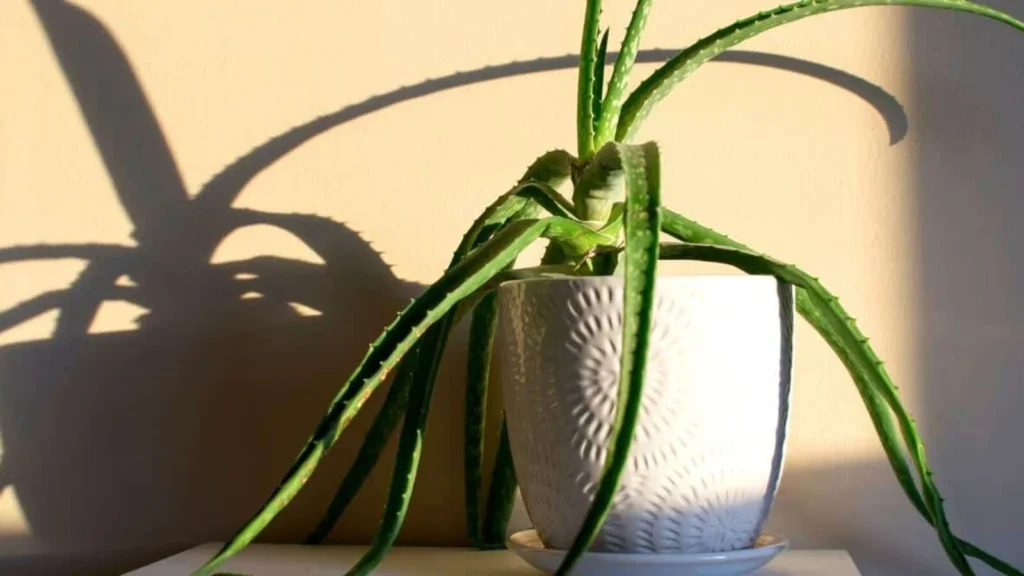
What it means: Usually underwatering, sometimes low light.
Fix it: Give a deep soak and move to a brighter spot if needed. Leaves should perk up in a few days.
5. Pests: Mealybugs, Spider Mites, Scale
What it looks like: Sticky residue, white cotton-like fuzz, or brown bumps.
Fix it:
- Remove bugs with a cotton swab dipped in rubbing alcohol
- Spray neem oil or insecticidal soap
- Isolate the affected plant
- Improve airflow
Apartment Safety: Aloe Vera Around Kids & Pets
Aloe vera may be a soothing skin remedy for humans, but it’s not always safe for curious pets or little ones.
Is Aloe Vera Toxic?
Yes—if ingested in significant amounts, aloe vera can be mildly toxic to cats, dogs, and small children.
- The latex layer beneath the leaf’s skin contains saponins and anthraquinones, which can cause vomiting, diarrhea, or lethargy in pets.
- For children, ingesting a leaf isn’t life-threatening but could cause an upset stomach or mouth irritation.
Keeping Aloe Safe in Apartments
You don’t have to skip aloe altogether. Just be mindful of placement:
- Keep aloe on high shelves, window ledges, or floating wall planters
- Use hanging pots in bright corners
- Group with other plants in a way that creates a natural barrier
- Teach older children not to pull or bite plant leaves
Safer Alternatives
If you’re really concerned, consider non-toxic succulents like:
- Haworthia
- Echeveria
- Burro’s Tail (Sedum morganianum)
But if aloe is out of reach and monitored, it’s perfectly fine to grow—even in a pet-loving apartment.
Uses and Styling Tips for Aloe Vera in Small Spaces

Aloe vera isn’t just a plant—it’s a home remedy, air purifier, and decorative gem. And in small pots, it still makes a big impact.
Everyday Uses of Aloe Vera
Once your plant matures, you can harvest its leaves sparingly for:
- Soothing sunburns or skin irritation
- Moisturizing dry skin
- Relieving bug bites
- Scalp treatments or hair masks
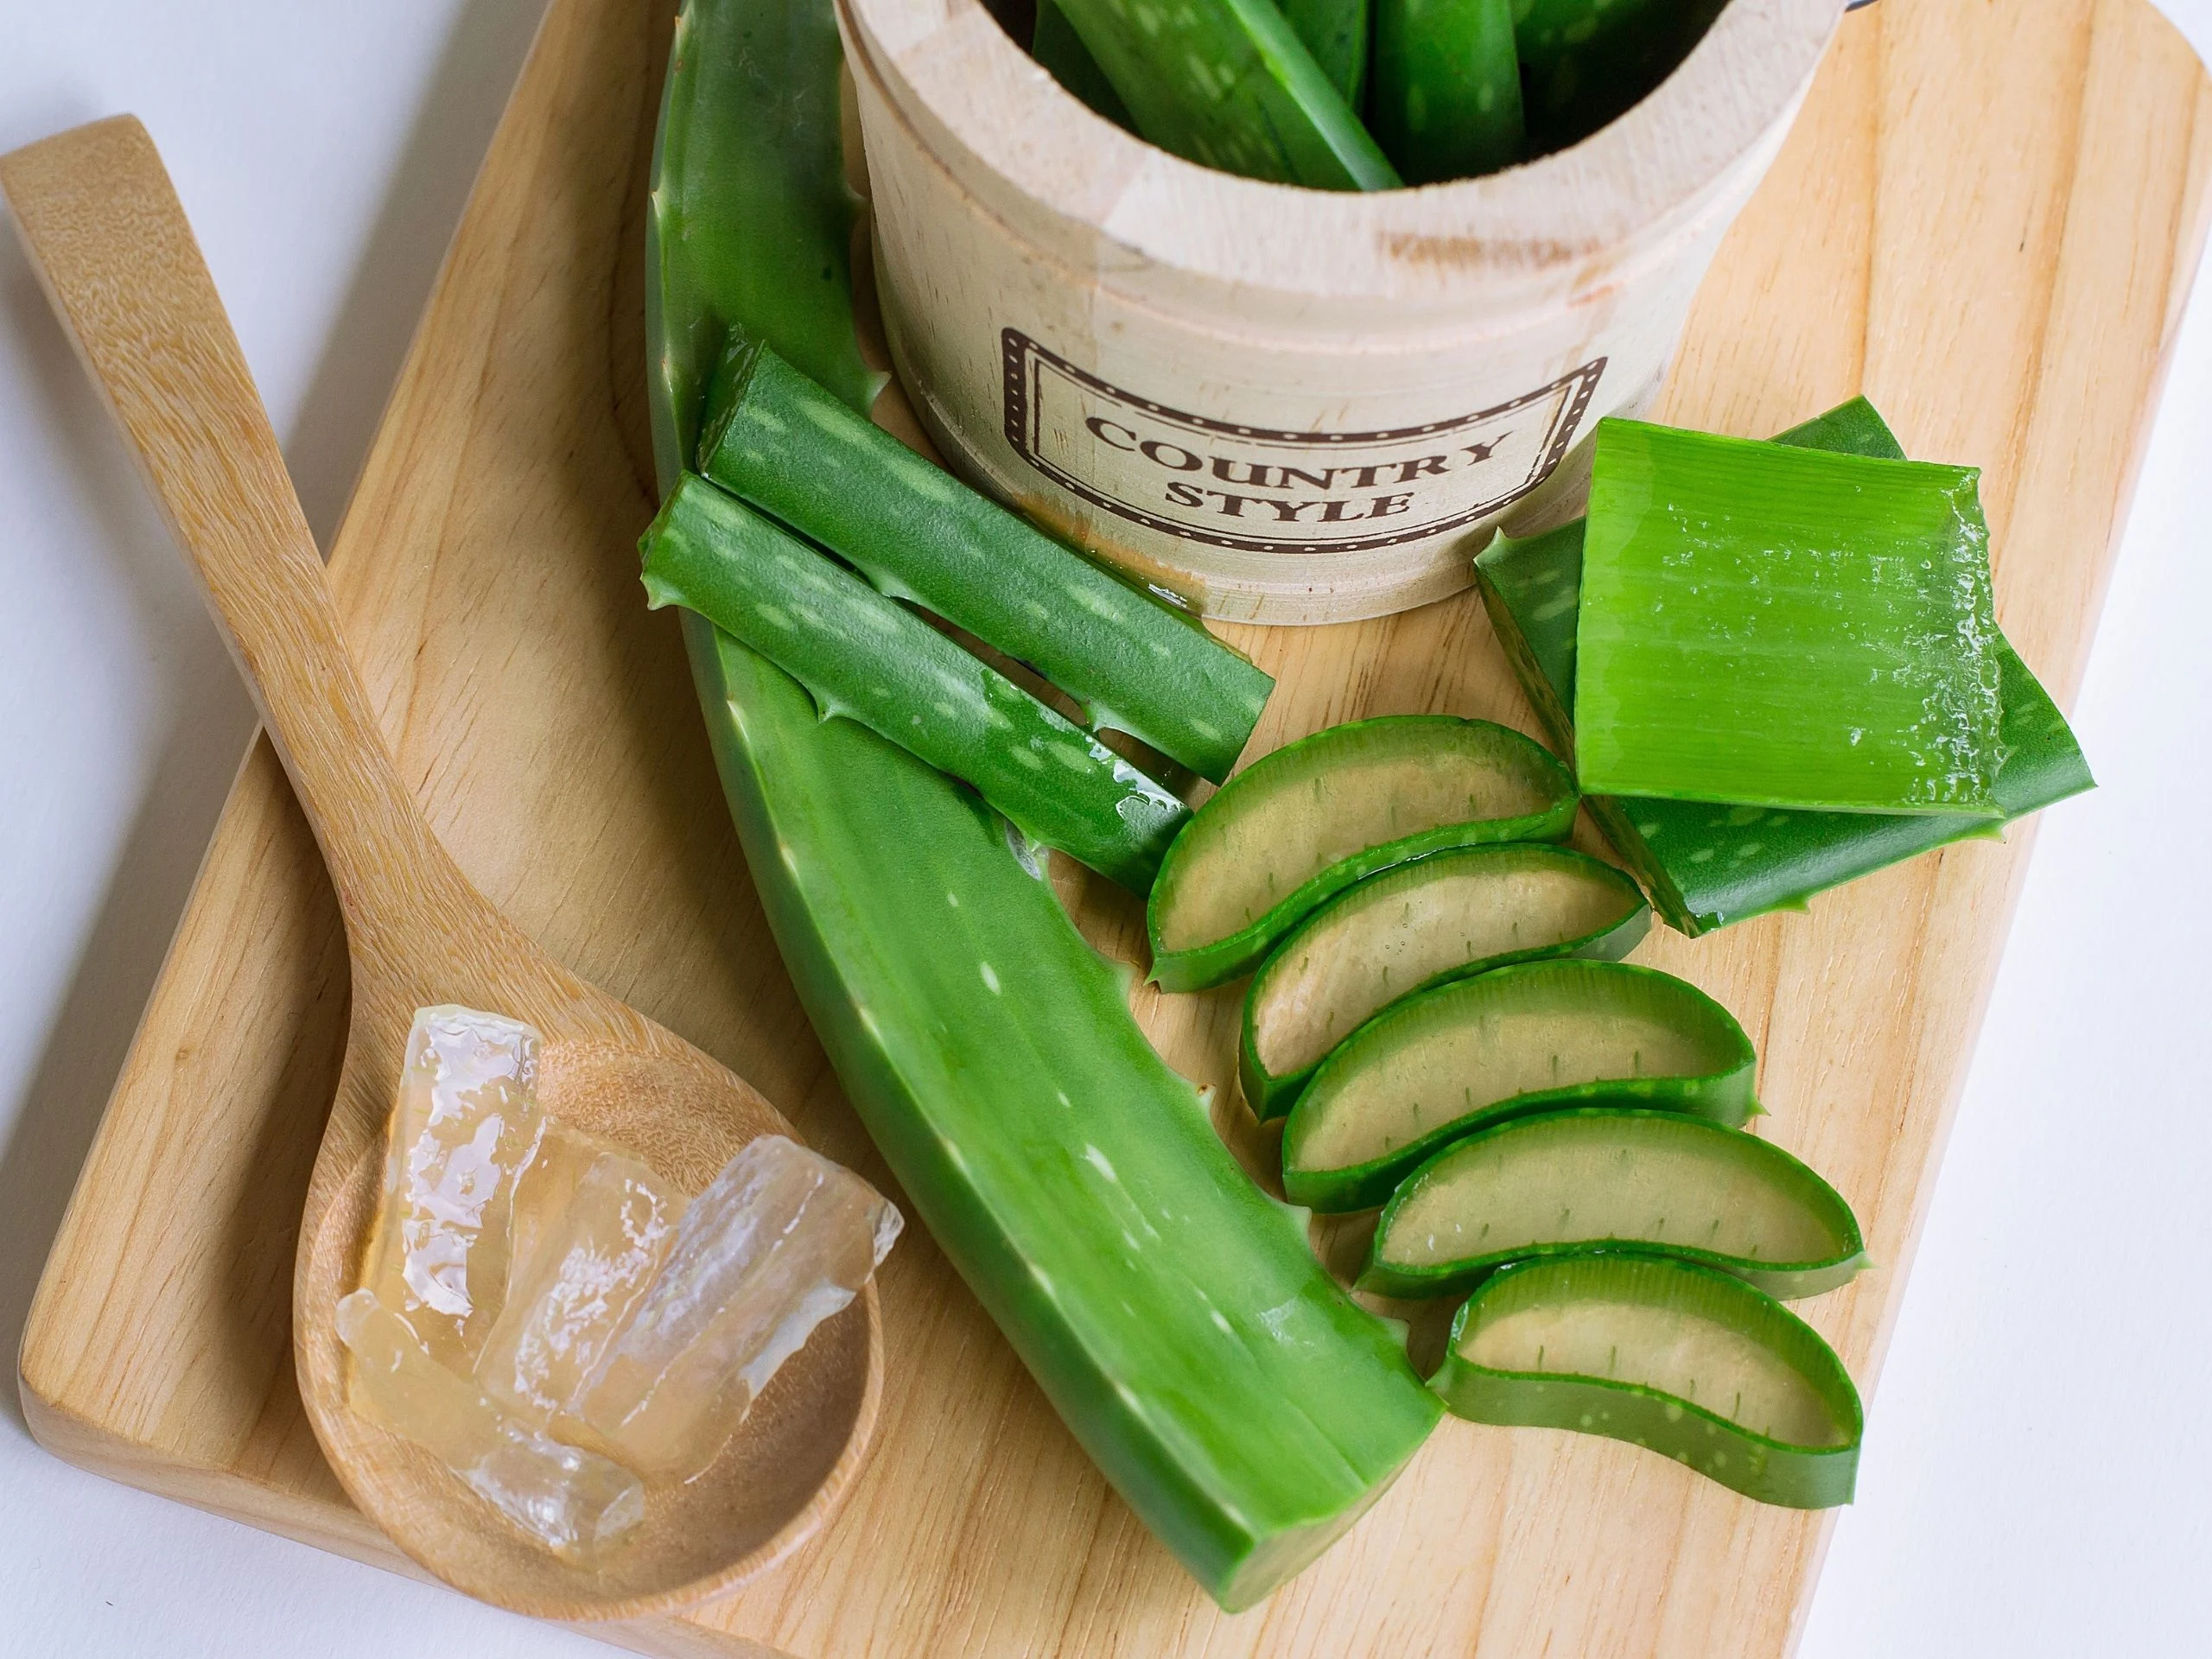
How to Harvest Gel:
Use a clean knife to cut an outer leaf near the base. Let the yellow latex drain (if any), then extract the clear gel inside. Store in the fridge for up to one week.
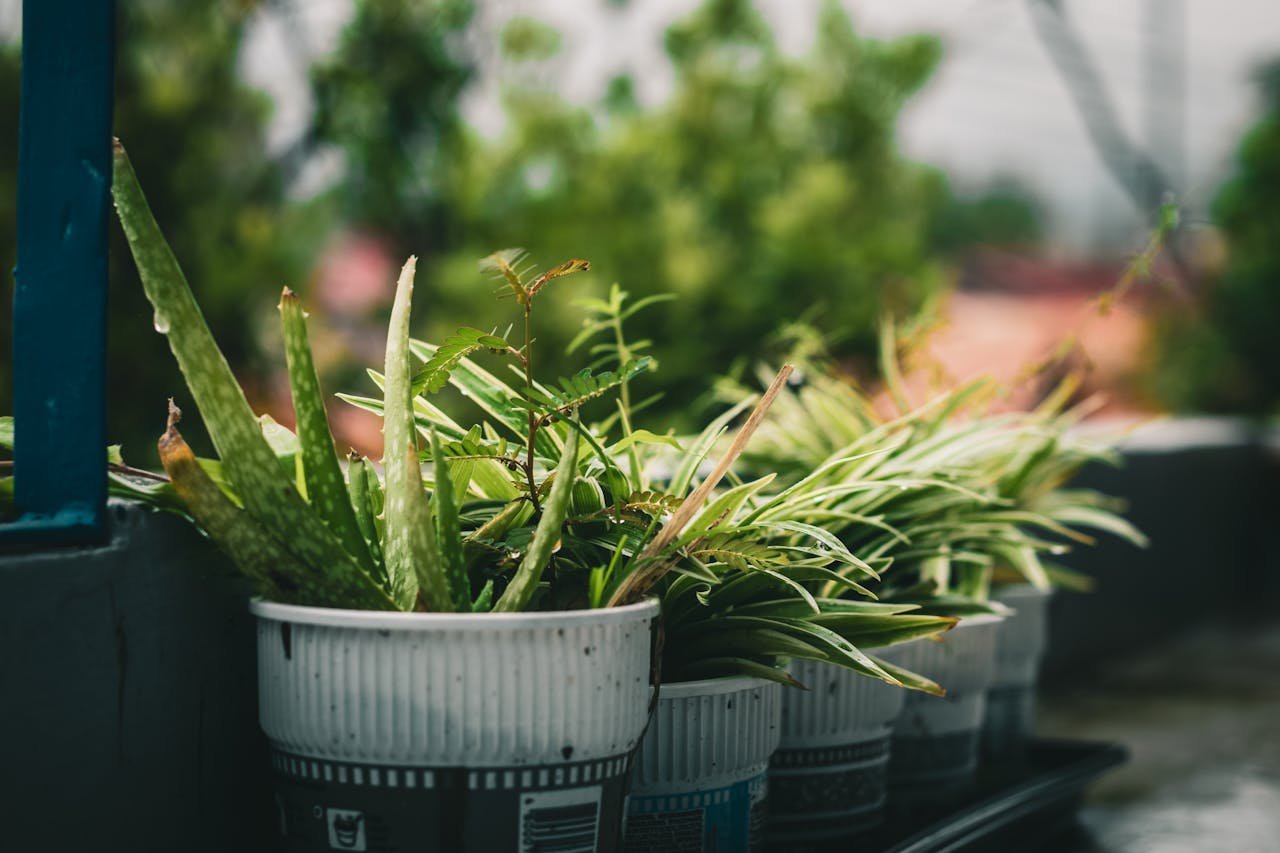
Styling Aloe in Small Pots
Even in a tiny studio apartment, aloe adds charm. Here’s how to make it shine:
- Windowsill Display: Use matching ceramic pots and line them along a sunny ledge.
- Terracotta Charm: Natural clay pots enhance the desert aesthetic.
- Desk Buddies: Aloe thrives under a lamp—perfect for your work-from-home setup.
- Vertical Shelves: Install floating plant shelves to build upward instead of outward.
- Grouped Greenery: Combine aloe with other succulents for texture and contrast.
Aloe is the kind of plant that works in any room—from the kitchen to the bathroom to your nightstand.
Bottom Line: Small Pots, Big Aloe Wins
Aloe vera is the ultimate low-maintenance, high-reward plant—especially for apartment dwellers and beginner plant parents. Even in a small pot, this spiky green friend offers beauty, practical uses, and a natural vibe that softens modern living spaces.
As long as you focus on:
- Bright light (natural or supplemented)
- Deep but infrequent watering
- Fast-draining soil
- A container with good drainage
Do this, and your aloe will thrive. Add stylish placement, safe access, and the joy of propagation, and you’ll turn this healing plant into a showpiece of your indoor garden.
Whether you’re growing aloe for its soothing gel or simply its aesthetic, it’s one of the easiest—and most rewarding—plants to keep in a compact home.
Frequently Asked Questions
Q1: Can aloe vera live in a 4-inch pot?
Yes! Small aloe plants do just fine in pots that are 4–6 inches wide. Just ensure there’s a drainage hole and repot when the roots become crowded.
Q2: How often should I water aloe in a small pot?
Typically every 2–3 weeks in spring and summer, and less in winter. Always check that the soil is dry before watering.
Q3: Can aloe vera survive in low light?
Not long-term. Aloe needs bright, indirect light to stay healthy. Use a grow light if natural light is limited.
Q4: Is aloe vera toxic to pets?
Yes, mildly. It can cause digestive upset if ingested by cats, dogs, or children. Keep out of reach.
Q5: When should I repot my aloe plant?
Every 2–3 years, or when roots outgrow the pot or water drains too quickly. Spring is the best time to repot.